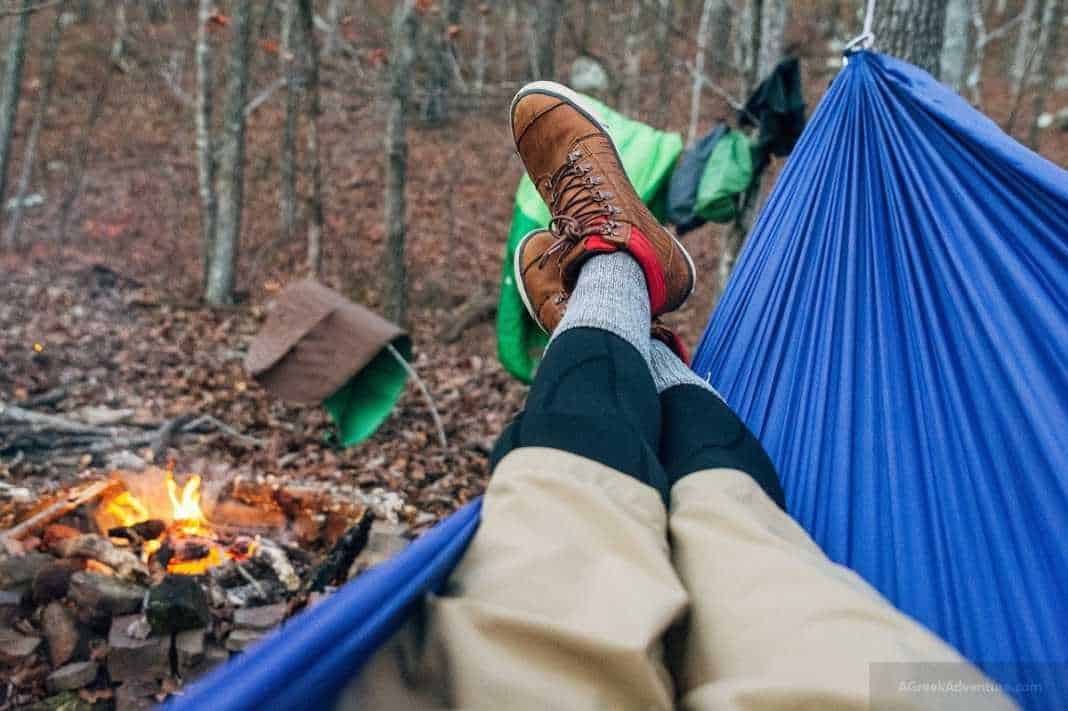
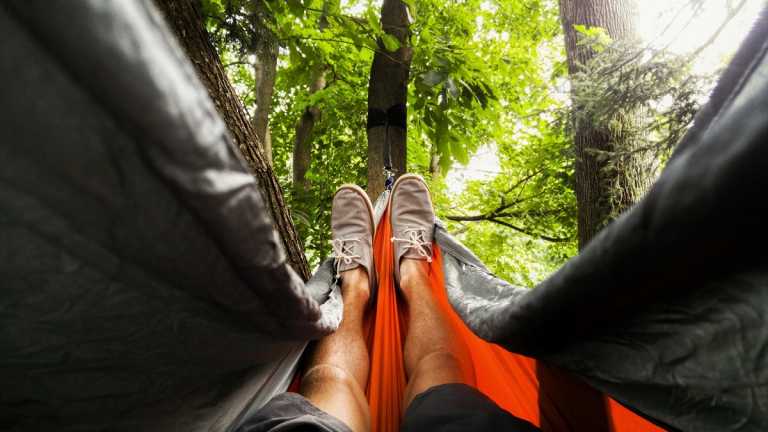
When I think of hammocks, I default to images from film and TV: blue-collar dads sipping beer in their backyards and swaying in the sunshine.
Even Homer Simpson looks good in a hammock.
Hammocks appear to be the height of relaxation.
Since, in my experience, there is little relaxation to be found squirming, sleeplessly with just a thin strip of damp canvas separating you from the hard ground, why not combine hammocks with camping?
I’m on a mission to learn how to sway myself to sleep in the wild. Care to join me?
Before anything, return and read our ultralight backpacking tips, along with hiking for beginners and the top mountaineering basics to know.

Tip #1 – Choose Your Hammock Wisely
There are two main types of a hammock on the market: symmetrical and asymmetrical. Symmetrical hammocks are probably the closest to our idea of a backyard hammock.
However, while hanging low might be fun for a while, would you like to spend a whole night with your back shaped like a bow?
The burgeoning popularity of asymmetrical hammocks suggests that, for most people, sleeping with a straighter back is a better option.
It appears that the choice isn’t symmetrical or asymmetrical; so much as which particular asymmetrical hammock suits you
Tip #2 – Bring a Bug Net!
Biting insects are the bane of outdoor adventurers. There you are, relaxing in the beguiling cool of a summer evening when swarms of insects descend on you and replace tranquillity with torment.
As Eagle’s Nest Outfitters put it, “mosquitoes eating your face all night does not equate to restful sleep,” so however tempting a night under the stars without an enclosure maybe, you’ll want to bring a bug net.
Many camping hammocks come with a mosquito net built-in, but be sure to check before you head out!
Tip #3 – Up the Heat Rating of Your Sleeping Bag
Sleeping in the air is a chillier experience than sleeping on the ground as the breeze can pass beneath as well as above you, so you’ll want to up the heat rating of your sleeping bag to compensate.
The best advice is to get one suited for dealing with cold temperatures.
Under quilts and top quilts can also be added to help trap your body heat and stop it escaping into the cold air above or below.
Better yet, why not invest in a high-tech mylar or “space” blanket? They’re cheap, lightweight, and, if placed beneath you, will reflect your body heat to you.
Tip #4 – Avoid Ice-Butt!
Have you ever heard of the phenomena known as ice-butt? I hadn’t either, but apparently, it’s a common hammock hazard. It occurs when you wake up shivering in the night because your backside feels like a block of ice.
It doesn’t sound pleasant, but it does make some sense.
As the lowest part of your body when lying in a hammock, your backside is surely particularly vulnerable to the cold.
Don’t leave it hanging out there!
As in a tent, your best defense against a cold undercarriage is a sleeping pad.
You’ll want to look for one that’s “mummy-shaped,” ie, it has rounded ends rather than the standard rectangular shape, as this will make a neater fit inside your hammock.
Tip #5 – Prepare for the Rain
Sleeping in a hammock is one occasion when you’ll want to leave yourself high and dry, but what if it rains?
Tarpaulin is the answer to provide shelter in the, let’s face it, likely event of an unwelcome downpour.
There are lots of shelter configurations you can make with a tarp; however, the most popular setup for hammock camping is the diamond tarp setup.
You can either buy a purpose-built hammock camping tarp or use a standard tarp sheet from a local store.
Generally, a purpose-built tarp will be lighter and easier to set up, but a generic tarpaulin sheet will be more massive and cheaper.
Tip #6 – How to Hang It
It’s all very well talking about how to keep warm and dry inside your hammock, but you’ll need to hang it up first!
If you’re anything like me and find any task that involves knots and isn’t tying your laces a challenge, it’d be worth checking out this youtube video going through the basics of hanging up a camping hammock.
This diagram also helpfully goes through the basics.
First and foremost, you want to select the two trees you’ll hang the hammock from.
They should be roughly 12-15 feet apart, and you’ll want your hammock lines to slope down at an angle of 30 degrees.
This should leave the bottom of the hammock roughly 30 to 46 cm above the ground.
Low enough that you’ll limit the damage if your hammock setup fails while you’re lying in it!
Tip #7 – Straps Matter
Time to get technical. Straps determine the amount of “stretch” your hammock will have (closely related to comfort since too much stretch could lead to a sagging), the kind of trees suitable as anchors, and even how adjustable your hammock is.
Investing in high-quality straps for your hammock is crucial. Comfort, durability, and weight are the main criteria.
Tip #8 – If At First, You Don’t Succeed
For some people, the switch to hammock camping is an instant success.
Others, however, may take time to adjust to hammocks, so don’t give in if your first night isn’t a great success.
Unless you sleep comfortably, it may take some time for your body and mind to get used to it.
Tip #9 – Have Fun!
It’s a new experience! You’re out there in nature, swinging between two trees. What could be better?
Conclusion
I hope you enjoyed the article. Learning about hammock camping has undoubtedly made me eager to give it a go!
If you’re thinking about taking the plunge, why not share this article with some camping friends?
Perhaps they’ll want to “hang out,” too.
Rich is a hiking and camping enthusiast who runs the blog over at Rolling Fox. Rolling Fox is regularly updated with outdoor guides, recipes, and gear reviews.

Amazing Blog on Hammock Tent. Can you please also let me know where I can get Tents Accessories from ? I am thinking of buying it as it really looks cool, do tell me. Thanks 🙂