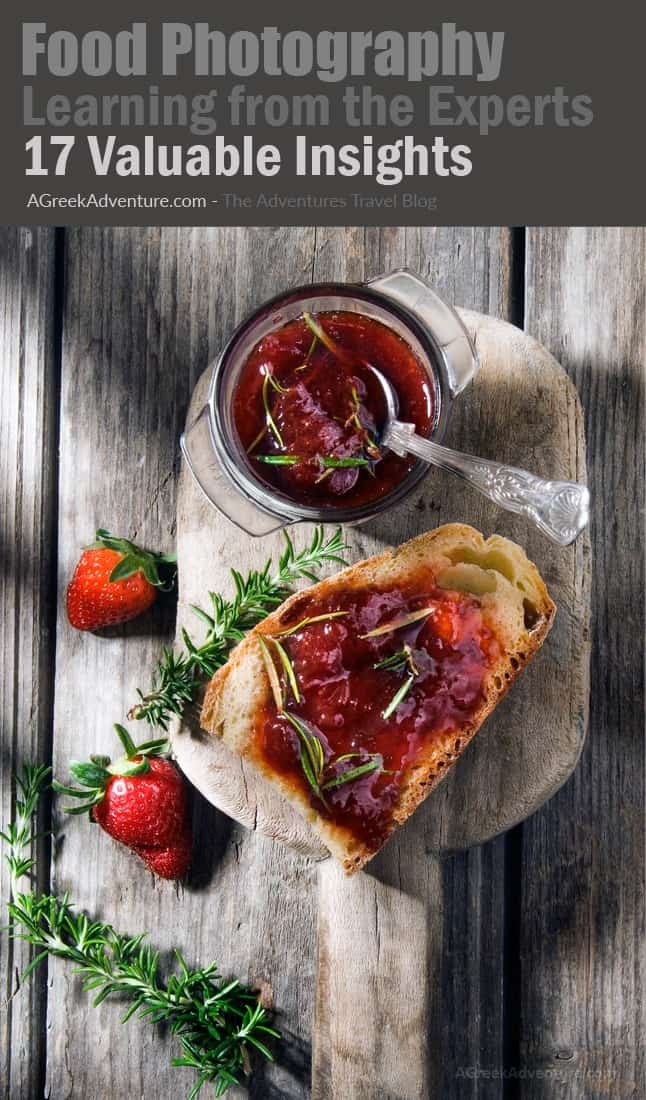
Food photography is one of the booming things in travel.
Everyone is taking a shot of their food and publish it online. Travelers tend to do that as food photography is part of the way to show the culture of a destination.
Food is culture.
Either the way it is grown and prepared or how it is served & consumed reveals many customs, manners, and ways of thinking.
For example, there is food that is similar to branding for a location. It is soup for French, maybe fish and chips for the UK.
Weirdly enough hamburgers are typical food for many in Copenhagen, Denmark. You would expect something else, right?
In some Arab or Asian countries, they eat using their hands directly without a fork or other.
Yet, apart from that, taking shots of plates is a form of art. Is a profession, and some specialized photographers do that for a living.
We decided to ask one highly skilled professional for tips on the best food photography trips.
We asked the expert photographer Maria Stamatiou from StudioM.
That is one of the oldest and well-known studios in Greece, specialized in advertising photography.
Do visit their galleries on their website, and your chin will drop while you will start drooling with their food images, jewelry photos, fashion photos, and many more.
Here are your Food Photography Tips
These are for all who travel and seek to find new locations, tastes, and places to eat.
These tips are for those who discover and reveal recipes for the ones who love to dig out traditional or contemporary products.
These tips are for those who want to immortalize food and share their findings with all.
#1. What kind of food photographer are you?
Are you the person who can manifest miracles with just a smartphone? Do you use a simple point & shoot camera that is always in your bag, easy, fast, and comfy to use?
Maybe you are one of those who carry their DSLR around, along with 2 or 3 lenses, a tripod, and… hmmm… some studio lights may be, so to take the perfect food shot?
Whatever type you are, you need to learn your photography equipment. Find out about its strong and weak points.
In that way, you will be able to produce the best food photo (aesthetically speaking).
#2. Follow the light!
You have to understand the light and different light conditions. When in outdoor shooting, the main idea is to follow the sun.
Daylight is your ally, but don’t expose your plate directly to the sun as it will burn!
The highlights will be destroyed, and you will end up with intense black shadows.
Instead, place your plate in a relatively dark spot. This can be under an arbor, next to a window with bright light, under a balcony or a tree, etc.
A good natural light source exists in days with light clouds. Clouds act like a big softbox, providing a diffused and soft light.
For example, an arbor can create a laced light, which will give a pleasant atmosphere to our photo.
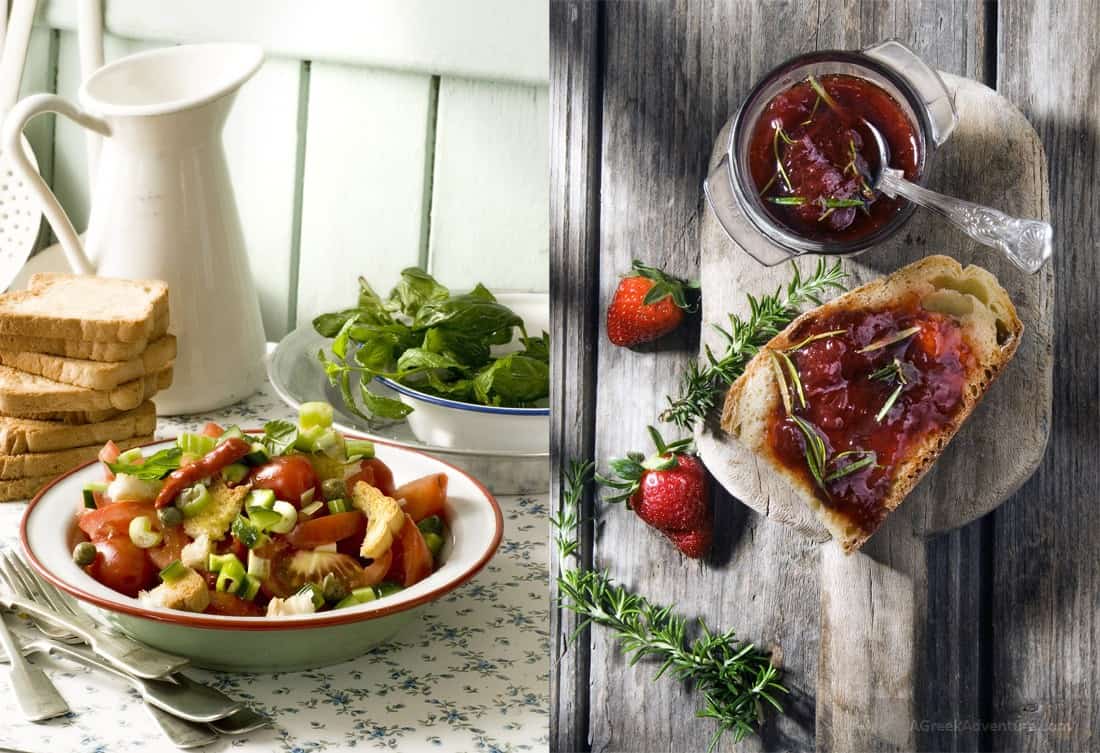
#3. Don’t be afraid of the shadows!
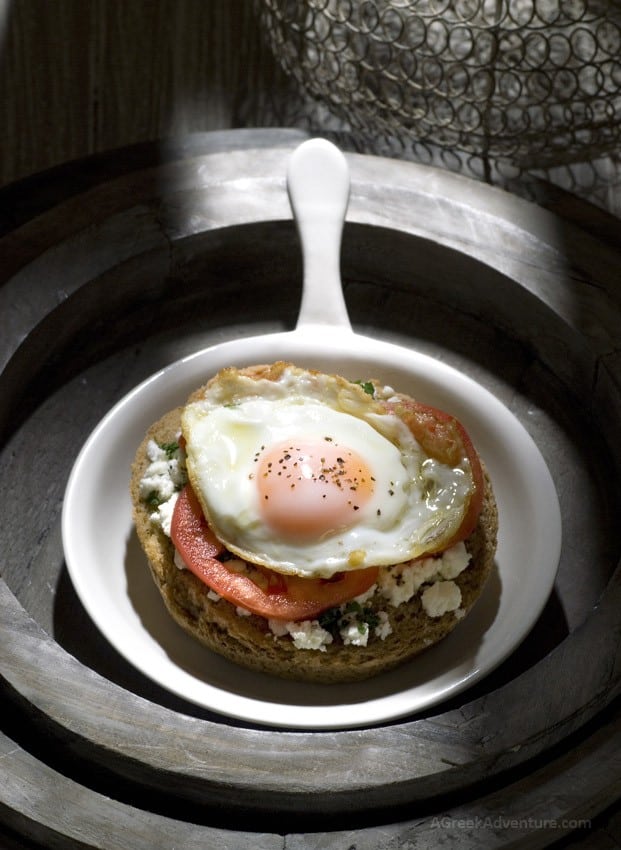
Shadows are not evil all the time.
They may give a dramatic tone on color and texture and show off our photo when that is needed. When you don’t need that tone, you reduce their intensity with a reflective surface.
Such a surface can be a white wall, a white carton, even another white plate.
#4. Cast & Reflection: The Bouncing Light
One critical factor to consider for your food photography is the colors (colors cast) that may affect your photo.
For example, when you shoot next to a red wall or under a yellow tent, these colors will spread a tint to the whole picture.
Try to shoot next to as negative colors as possible.
In that way, the actual colors of your plate will remain as unaffected and vivid as possible.
#5. Don’t Flash
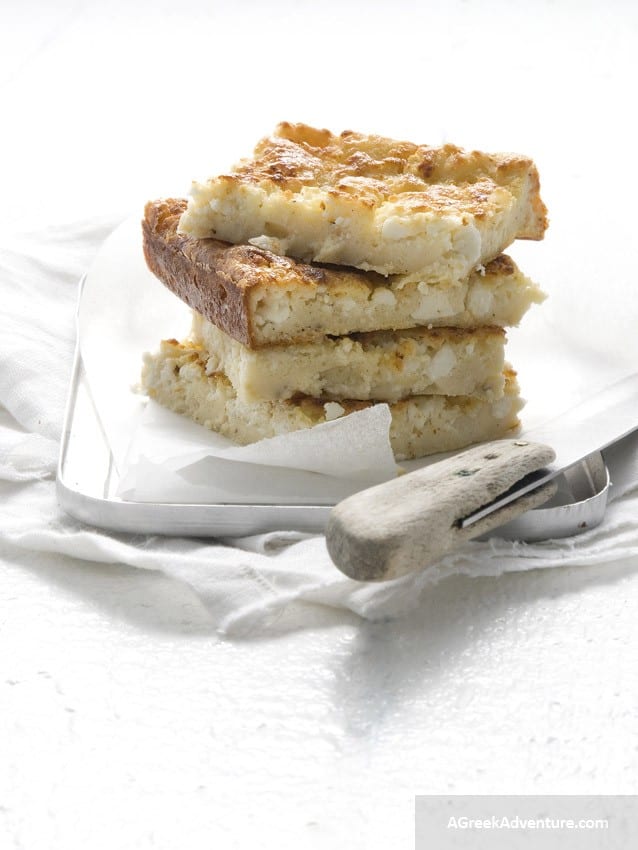
Just don’t. Don’t. Your embedded flash will not –in all circumstances- add anything to your picture.
If you use it, it will be like photocopying your food. You don’t need all that amount of light.
You don’t want to eliminate texture and shapes.
If you need to shoot under low artificial light, see what are your alternatives through the settings of ISO, Aperture & Speed.
#6. Indoor Food Photography
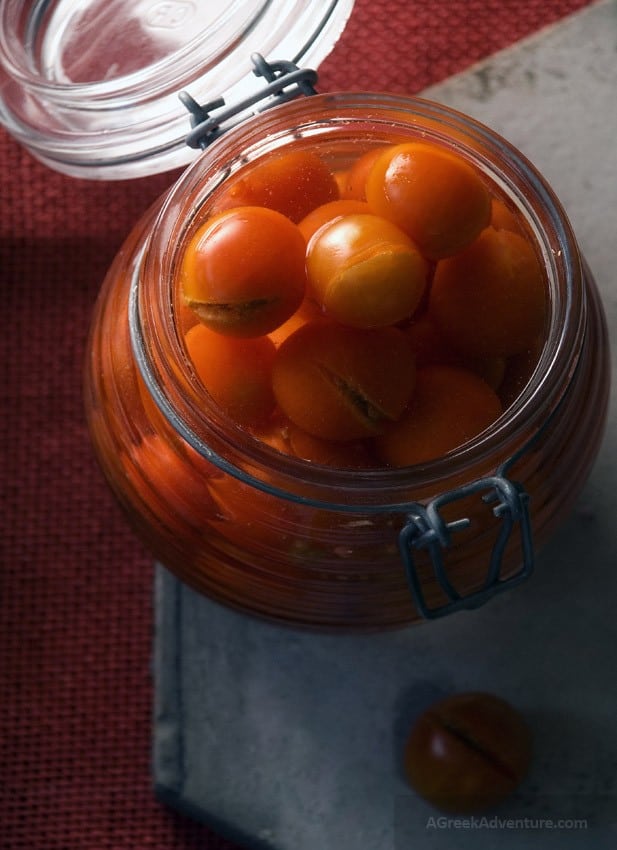
When you need to shoot while you are in a room, then you need to find the table next to the window with the most light. Use the available daylight.
During night time, all light bulbs tend to make photos look “orange.”
If your camera permits, then adjust the White Balance setting accordingly to improve the colors in the best possible way.
#7. Angle
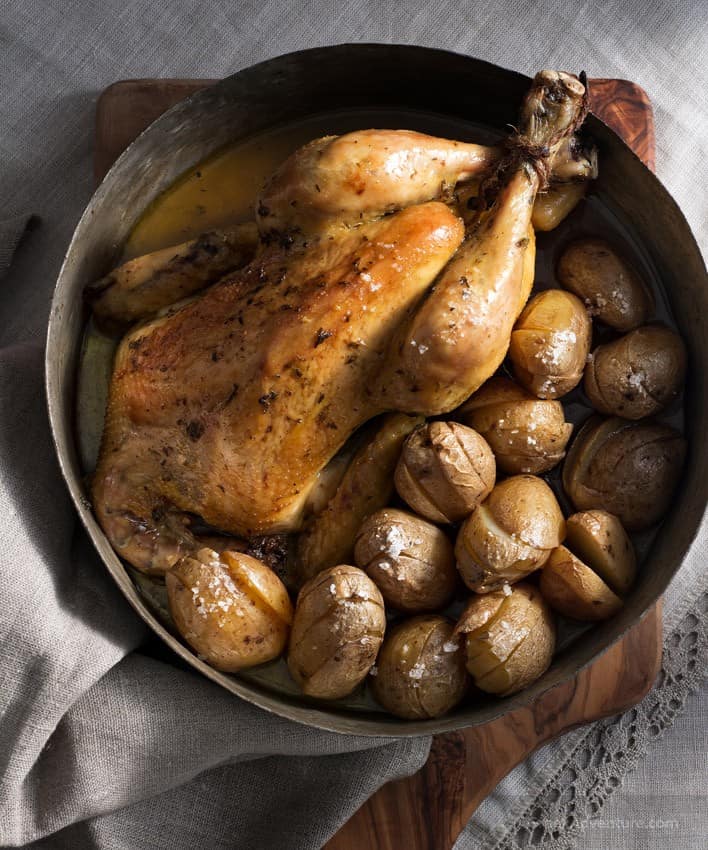
Each plate has its own “best profile.”
Some recipes look tastier when you shoot them from a low angle, while others when you are directly above them.
Explore to find the proper angle and shoot from different ones to find the best for your plate.
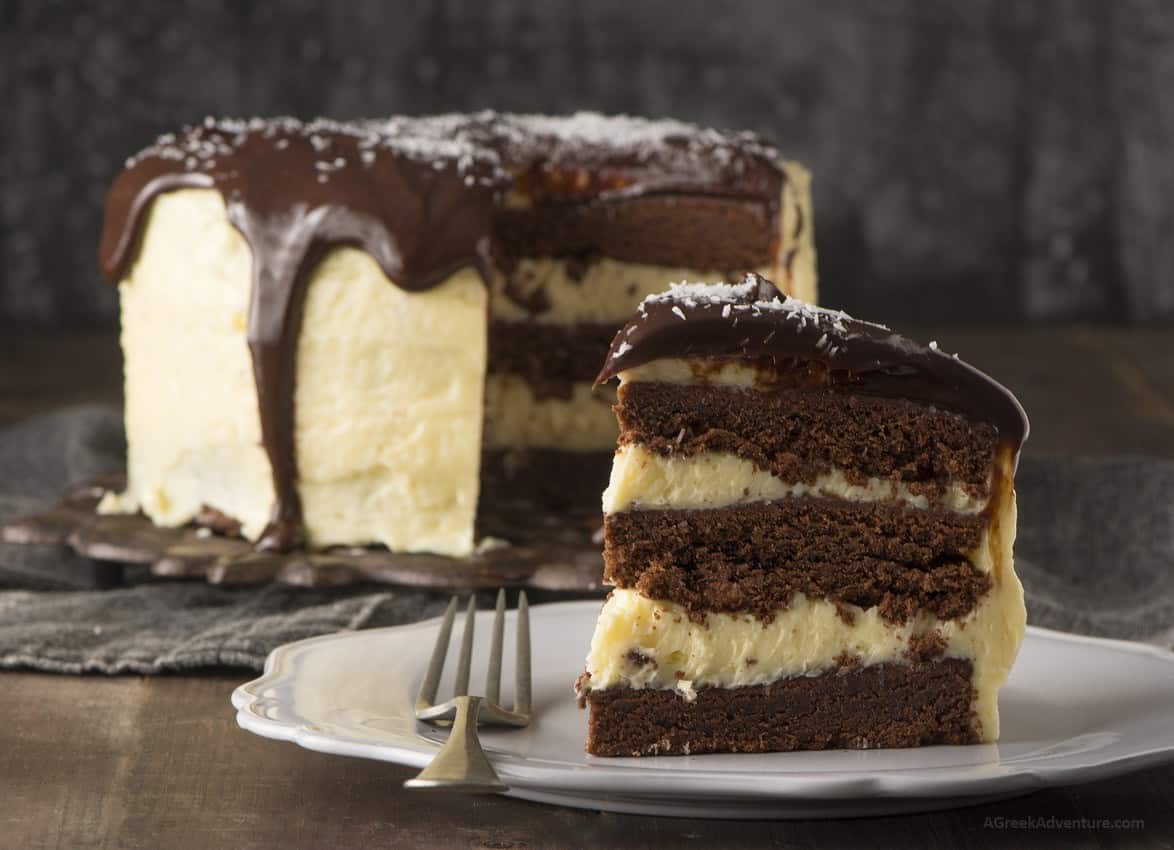
#8. You spin me, right round baby,
When a plate with food is right in front of you, then turn it and observe all sides. Find the one you like best for your photo.
In case you are not in a high-class restaurant where Chefs create little masterpieces with their plates, then you may like to “intervene” a bit with your styling perception.
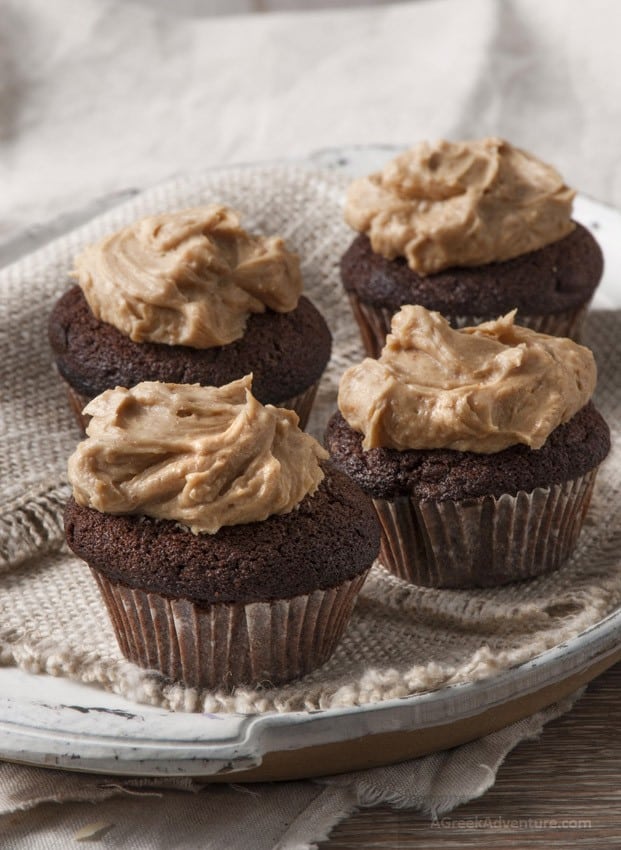
#9. Styling
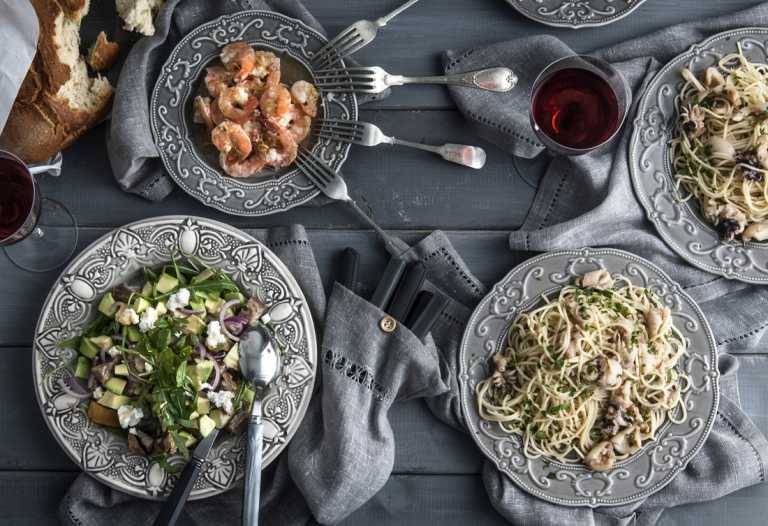
When you eat in a restaurant, almost all “eating” elements are on the table. These are glasses, plates, knives and forks, spoons, paper or cloth napkins, etc.
However, for your composition, you may not need all these.
Keep it simple.
A fork and a cloth napkin could be just enough.
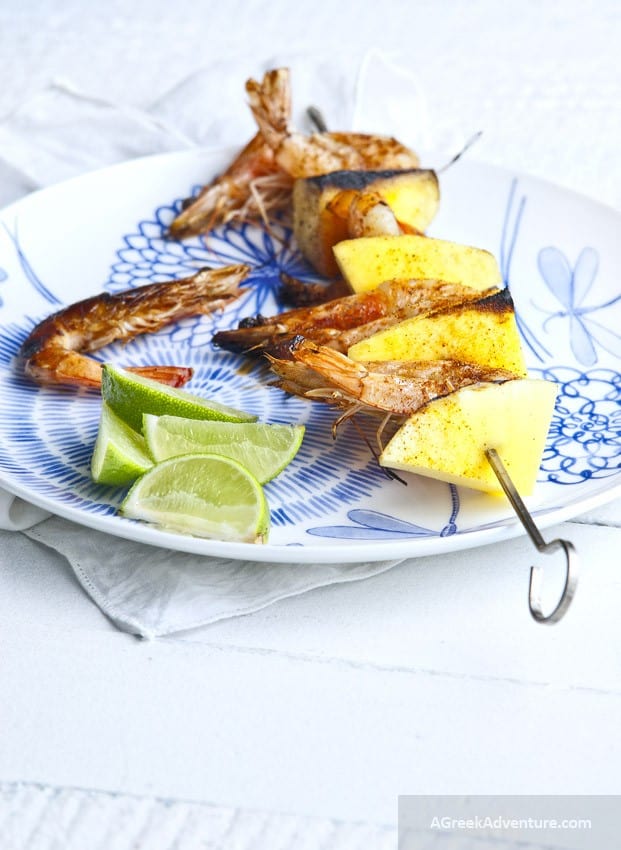
#10. Do you like it? Do you want it?
If so, then your composition is ready.
You have your plate, your background; you found the correct shooting angle and light.
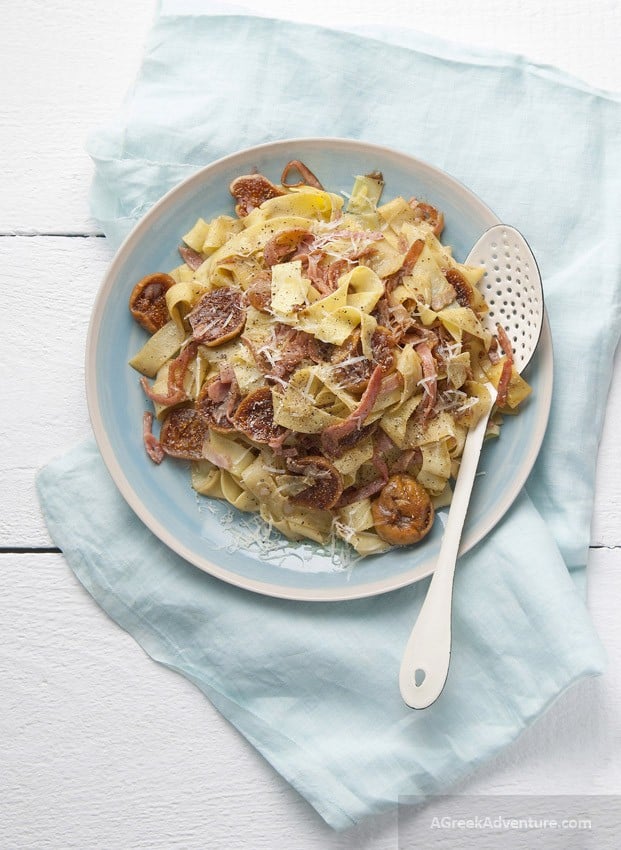
You did the styling by merely placing a fork at the edge of the plate, while a cloth napkin rests on the top side.
So? Do you like it? Listen to your instinct.
If you don’t like something, it is because something is not right.
Move, remove, or add whatever you think will make it right.
When all things “lock” in place, then that is when you will feel good.
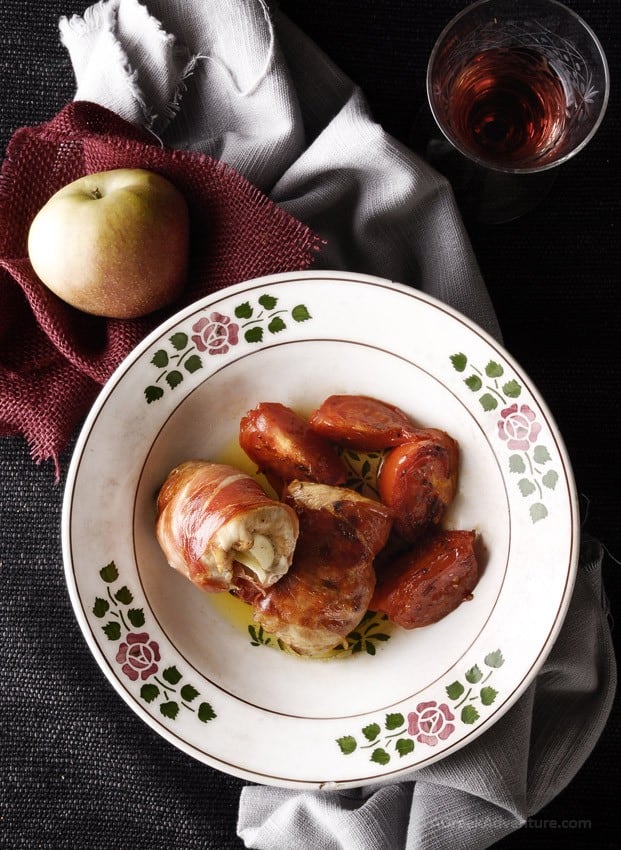
#11. Clean plates
Make sure all dishes and cutlery are sparkling clean!
It is not flattering at all to shoot a plate with fingerprints or sauce drops. Dirty tablecloths are not hip. On the other hand, it is food.
It needs a bit of a twist to make it more alive and not something that came out of a science lab.
Alive is different from dirty.
#12. It’s alive!!!!
Make your composition come to life with a story. Place a bite to your fork and place it on the plate, like someone is ready to eat it.
Break the bread with your hands and not with a knife, and just place it on the table.
Take a bite from the biscuits.
Place your hands inside the composition.
Make the viewer feel the atmosphere your table emits.
#13. Background
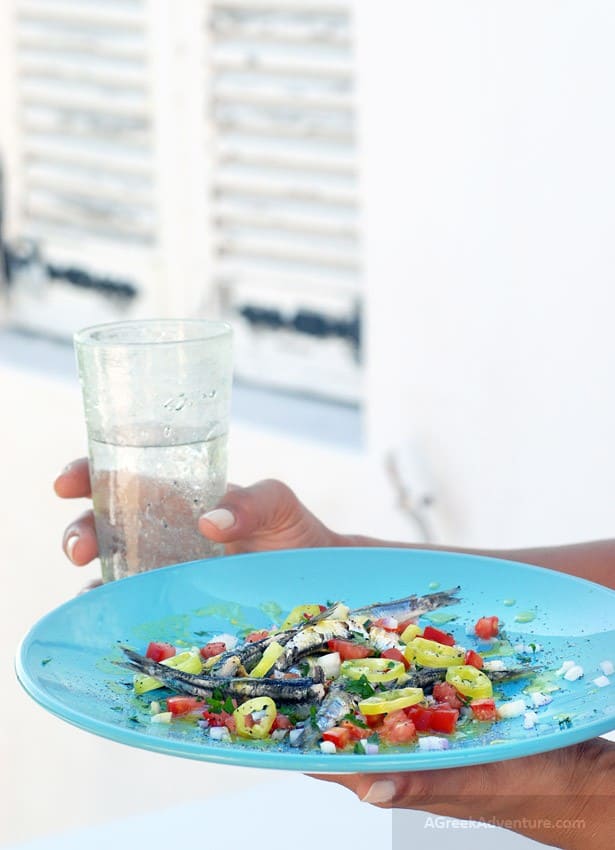
Don’t choose too bright/fancy colors for your shooting. They distract the viewer from the main focus. The focus is on the food.
Place your plates on more neutral surfaces.
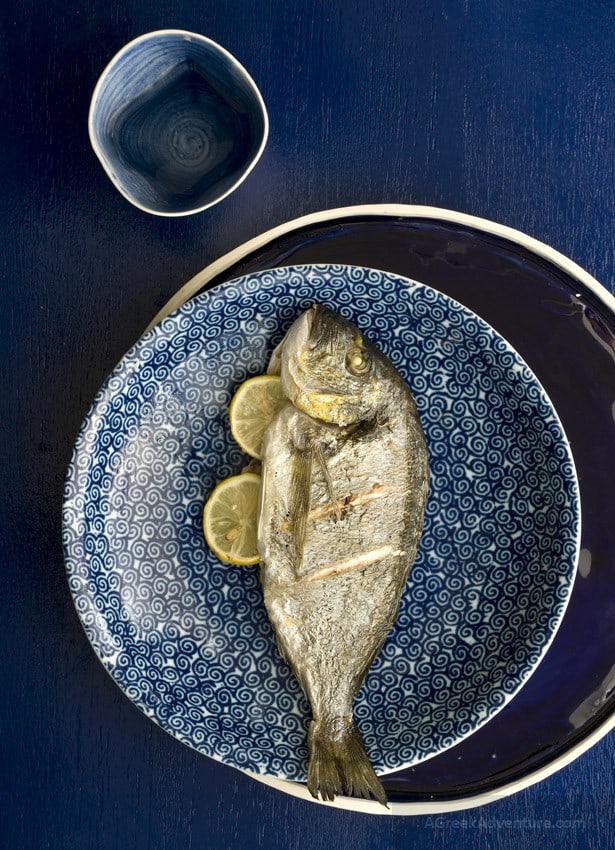
Marble or metallic tables, cement floors, light-colored walls, and –especially- surfaces from old wood, burned by the sun, tend to be rather photogenic.
#14. Food is what matters
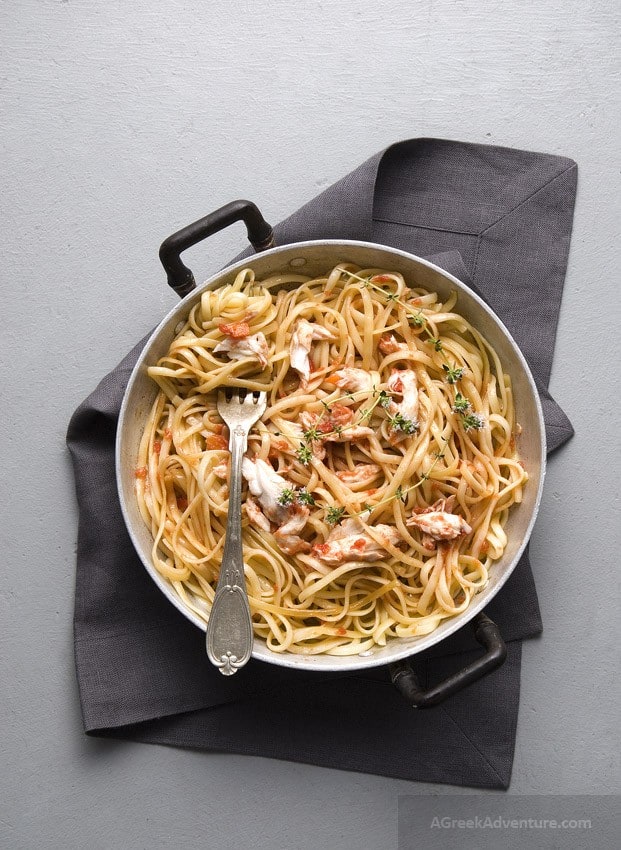
In food photography, all that matters is The Food.
The food is the one and only leading actor. The background, the food styling, the light are there to exalt it simply.
Just keep your plate in focus and leave the rest to blur out. You should consider the food you are photographing as a product you’d like to endorse either to your readers or for display.
Getting your product photography skills on a point will help drive up your content to a bigger audience.
This can be achieved with open aperture, or with a variety of filters applied to your photo during post-production time.
#15. The Clock is Ticking
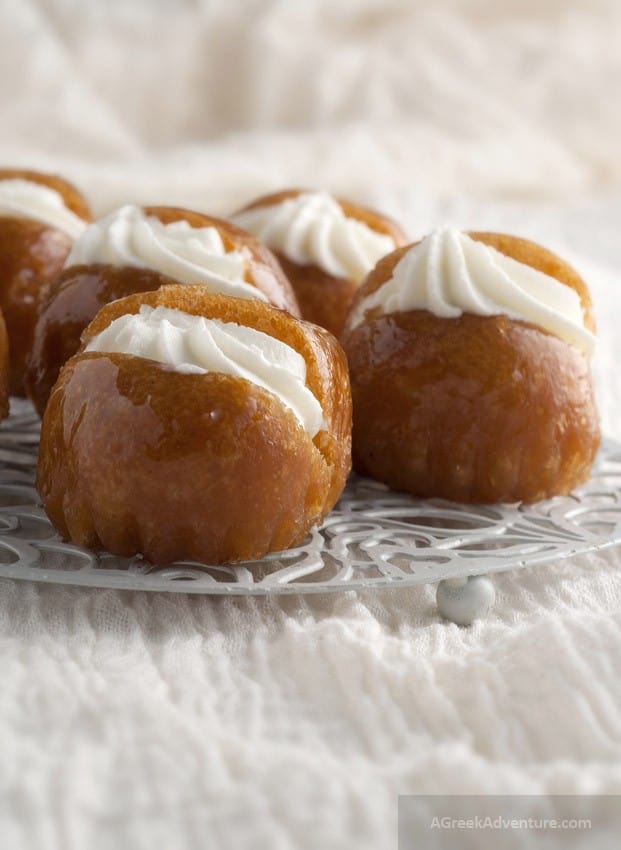
Don’t keep your food waiting. As you delay to take the shot, your food loses its moisture and spark.
If you need to save the day, add a bit of oil. That will brighten it up a bit.
This doesn’t apply to ice cream shooting. In such cases, simply run!
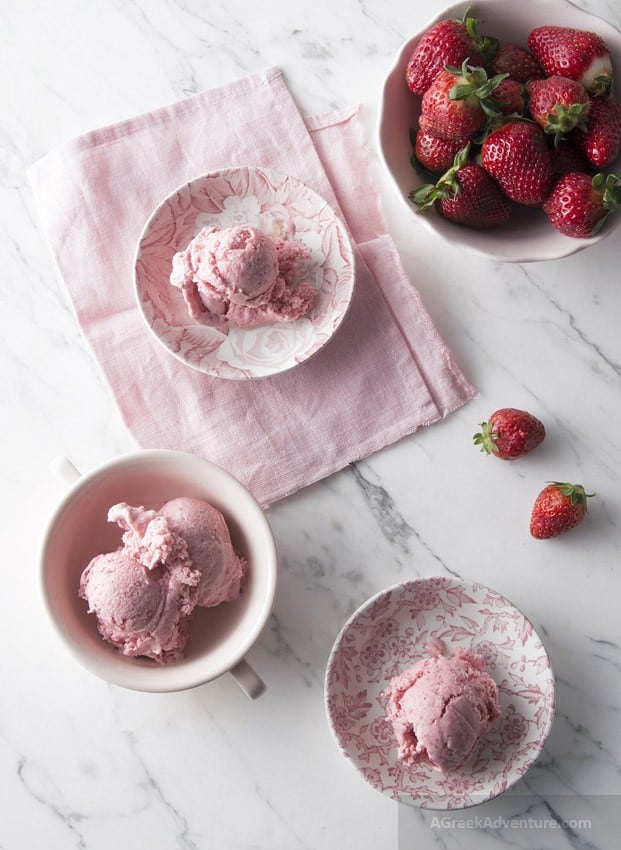
#16. Portrait or Landscape Photos?
Where are you going to use the photos? Are they for your business site?
Maybe they are for your blog or your Instagram account? In what format are you going to use them?
Don’t shoot portrait photos when they must be used in wide/panoramic screens and vice versa.
When you need a square one, then shoot for that. If you need to crop them later, you will lose something that may change the result of the photo.
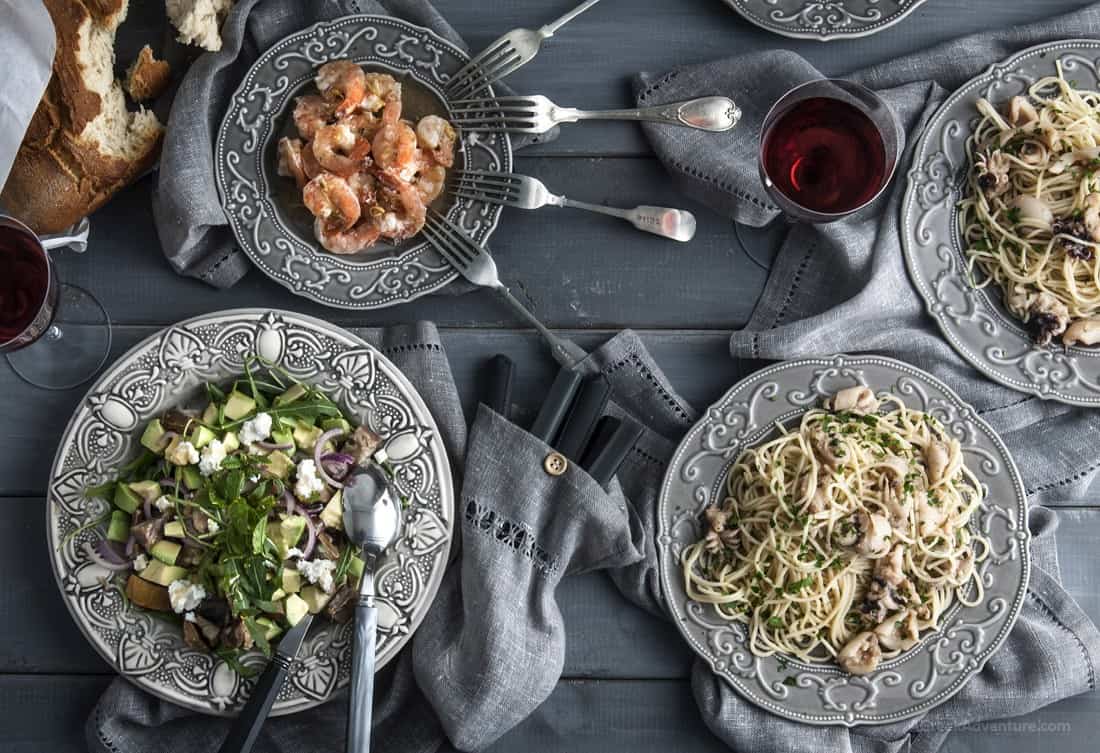
#17. That’s all for Food Photography, Folks!
When you finish all this, then you can process your photo.
Maybe you would like to add a few filters or enhance the lighting part when it is not as good as you would like it to be.
Depending on your knowledge and capabilities, along with the way you shoot, you can choose to do that through a variety of software (Photoshop, Lightroom), or via applications like Instagram.
Most smartphones have their filters for photos, and there are thousands of applications to process them further.
Conclusion on Food Photography
We hope we helped you to raise your knowledge of your food photography challenges. Of course, all food photography images need a little bit of process. Adobe Lightroom and Photoshop are two of the most popular tools for photo editing.
As we mentioned at the beginning, food photography can transfer information about cultures and customs through just one plate or with the setting around a plate. Travelers use it like that a lot.
Feel free to check our dedicated Photography tips section from here.
A big thank you belongs to Maria for the time she devoted to write all these valuable photography tips and provide us with all the photos.
Shoot with love & have fun!
(Photos: Courtesy of StudioM Advertising Photography – All Rights Reserved)
Also read:
- 29 Best Tips for Landscape Photography for Beginners
- Wildlife Photography – Why They Do It?
- Drones: Use Them For Stunning Aerial Photography
